Butcher Block Installation Services for Property Owners
Visitors will learn about local contractors who install butcher blocks and how to compare service options in their area.
- - Residential homeowners seeking to upgrade or replace kitchen surfaces with durable, custom butcher block countertops.
- - Commercial property managers aiming to enhance restaurant, bar, or retail spaces with professional butcher block installation.
- - Contractors or remodelers looking to connect with local specialists for seamless butcher block countertop setup.
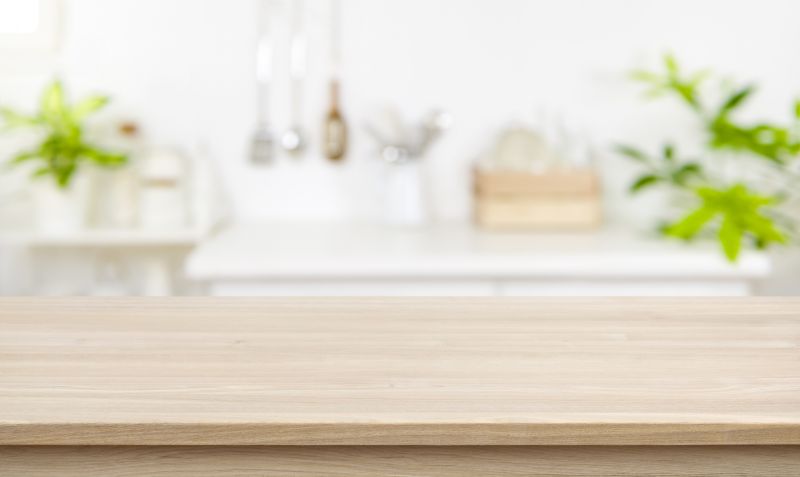
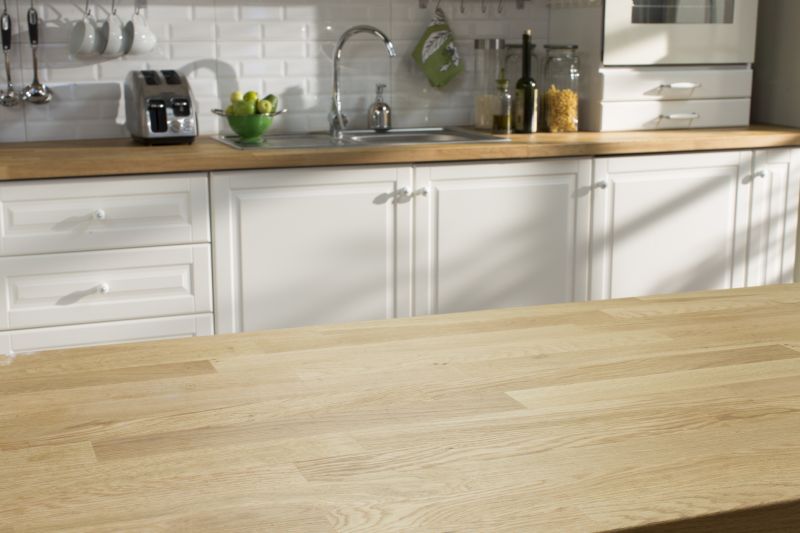
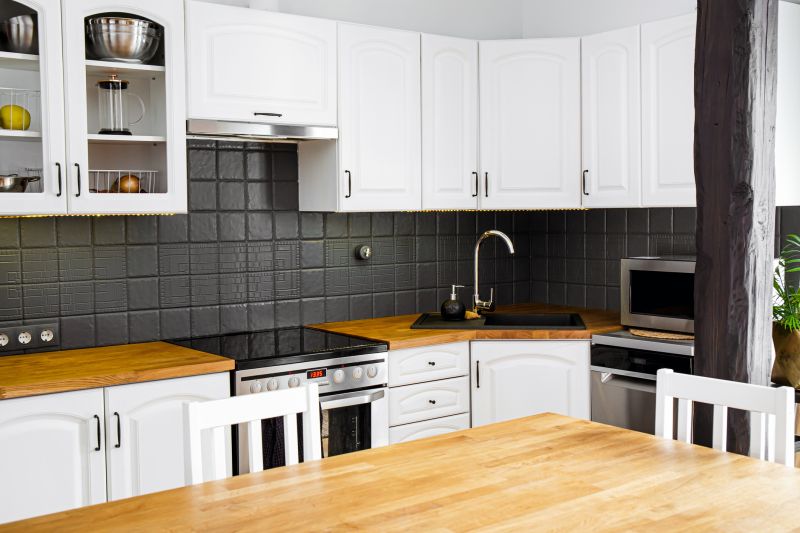
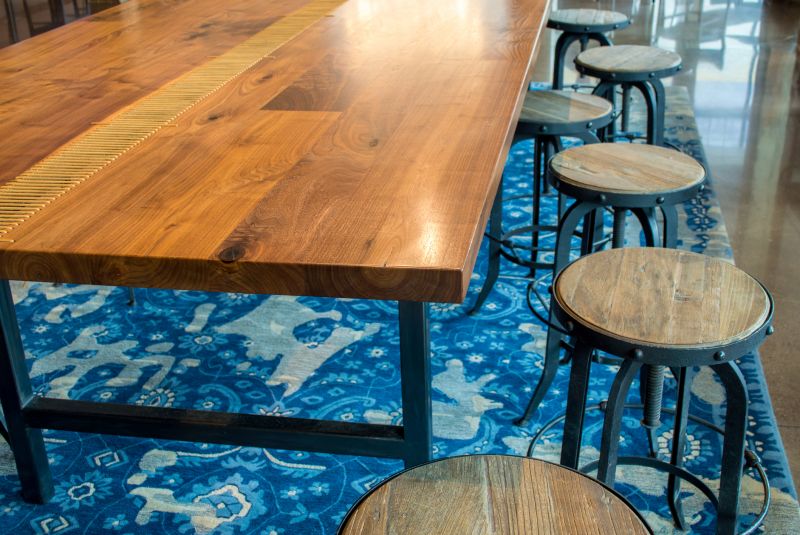
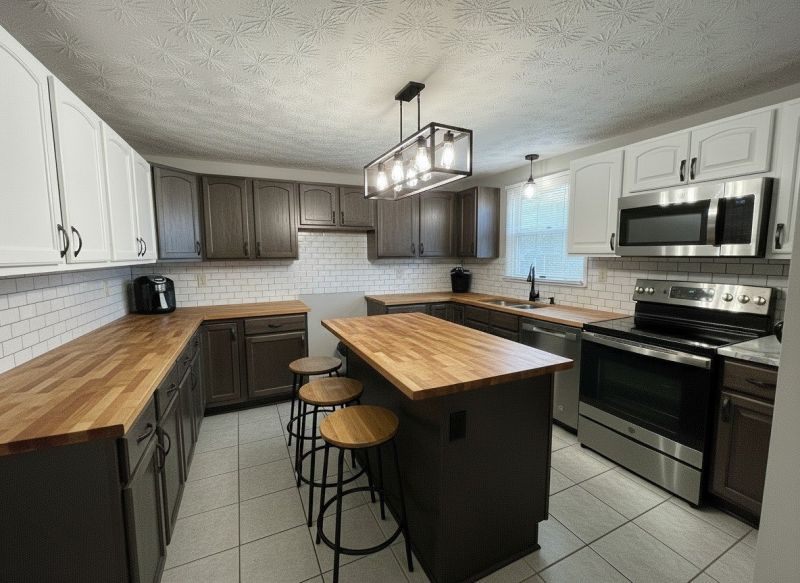
Butcher block installation is a specialized service that involves fitting and securing durable, natural wood surfaces into kitchens, islands, or other culinary spaces. Homeowners seeking this work often look for experienced local contractors who can handle measurements, precise cutting, and proper installation techniques to ensure a seamless and functional result. These professionals typically work with a variety of butcher block styles and finishes, helping property owners achieve the desired aesthetic while maintaining the integrity of the material.
Connecting with local service providers for butcher block installation can simplify the process of updating or upgrading kitchen surfaces. Many contractors offer consultations to assess the space, recommend suitable options, and perform the installation with attention to detail. Property owners can expect these local pros to handle the work professionally, ensuring the new surface is securely installed and ready for everyday use.
This guide provides helpful information to compare and evaluate local contractors who specialize in butcher block installation. It aims to assist in understanding the basics of the project and what to consider when connecting with service providers. The goal is to support informed decisions by highlighting key factors when choosing local professionals for this work.